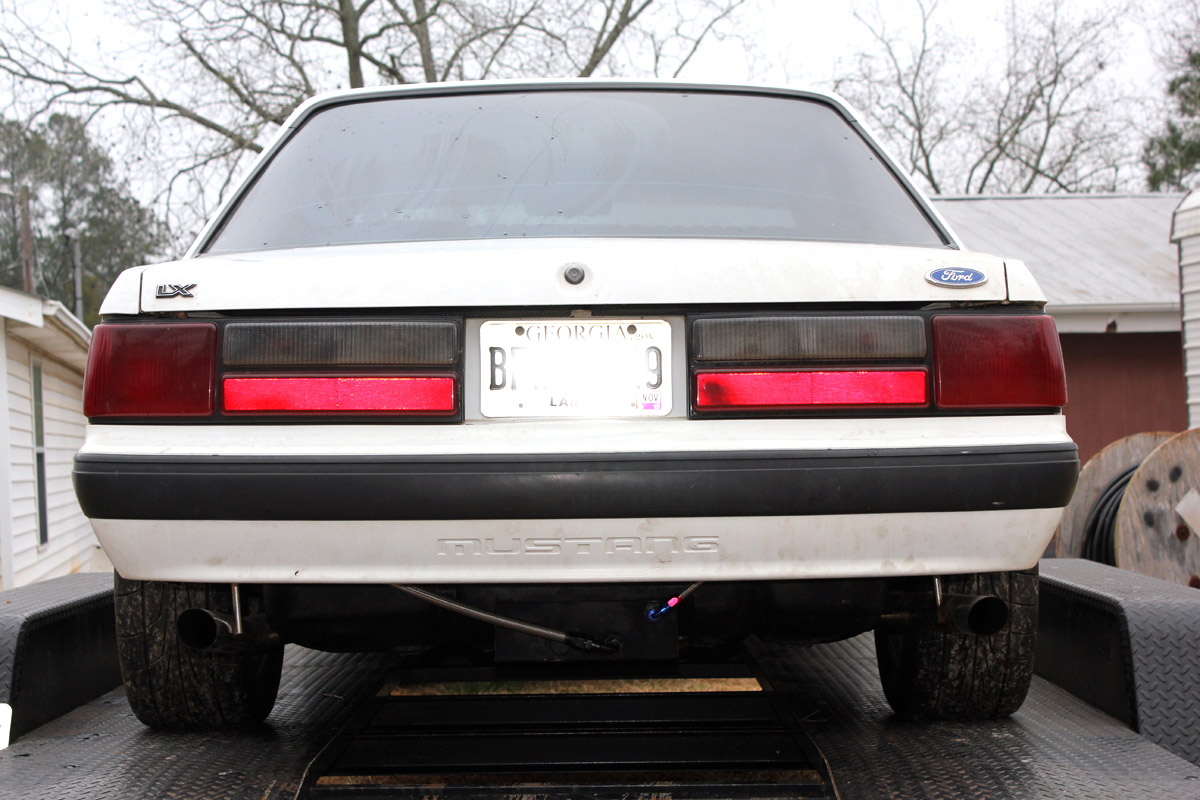
Fuel Tank
This is my original Aeromotive kit. One day my car just barely bumped a high spot in my lawn, and without bending the hose or breaking the hose fitting, the tank's outlet bung weld cracked. It leaked 5-10 gallons of gasoline in my lawn. There was nothing I could do to stop it! I just had to watch the gas pour out.
I decided the low rear hoses made the system unsafe, and thought a fuel cell would be safer.
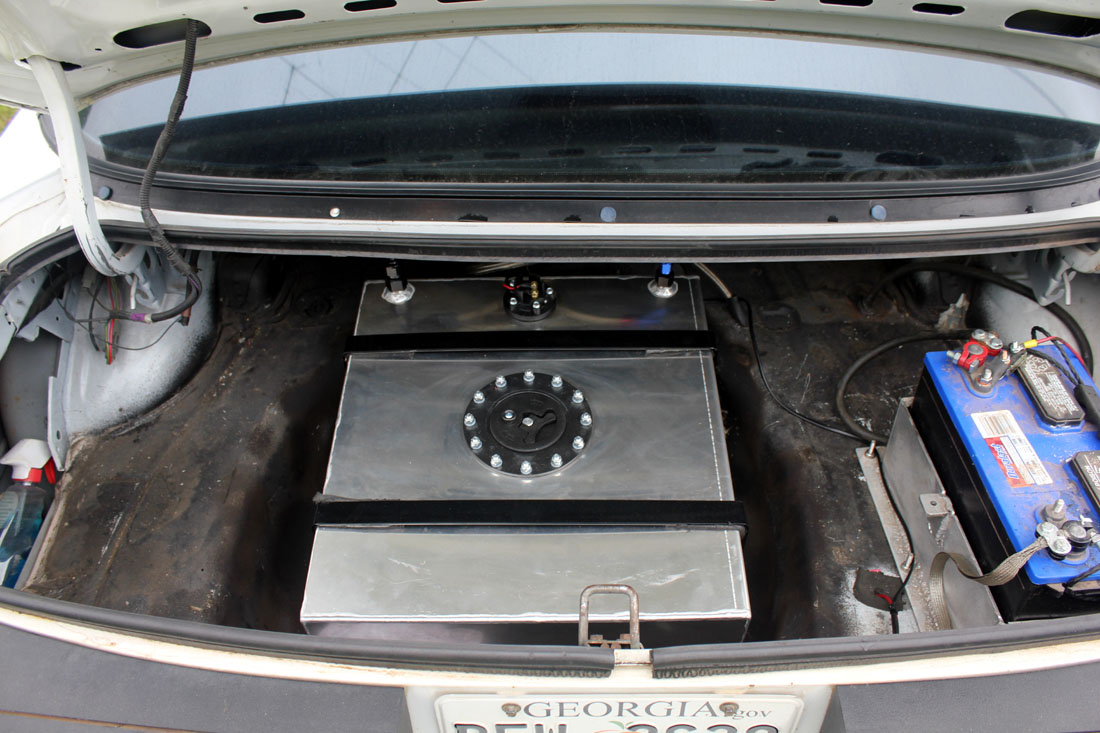
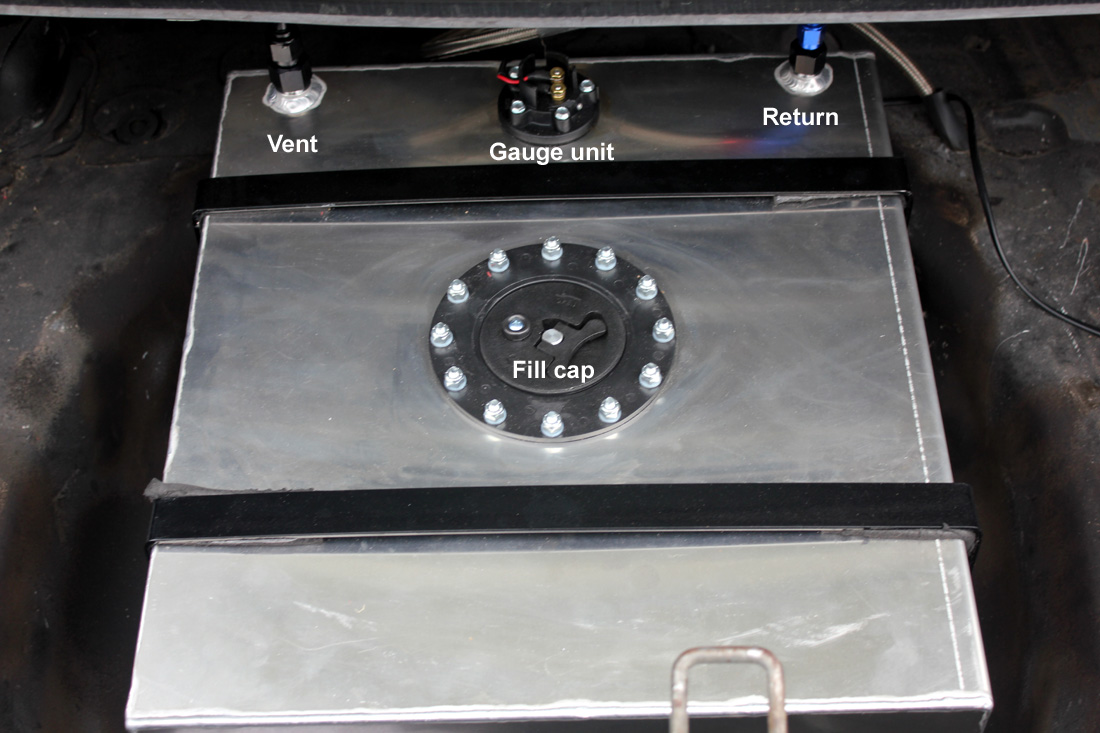
This is my .Brokedickracing 15 gallon fuel tank. It is an excellent tank, and includes a fuel sensor that works. It replaced the unsafe rear sump Aeromotive tank.
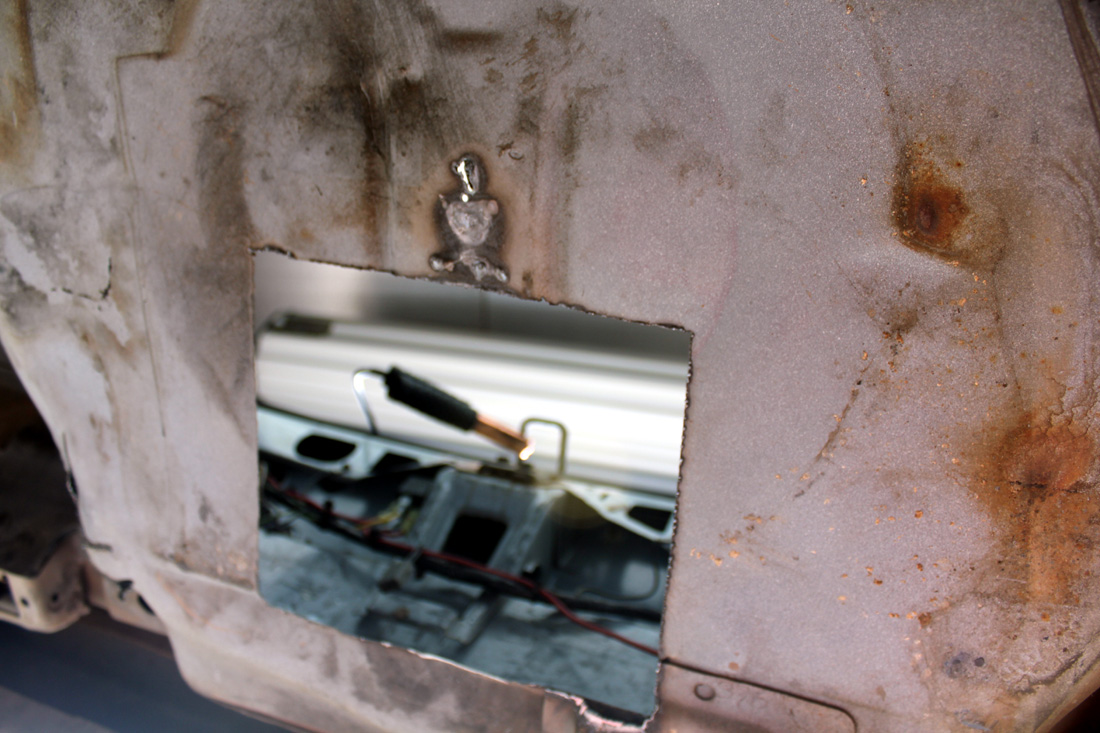
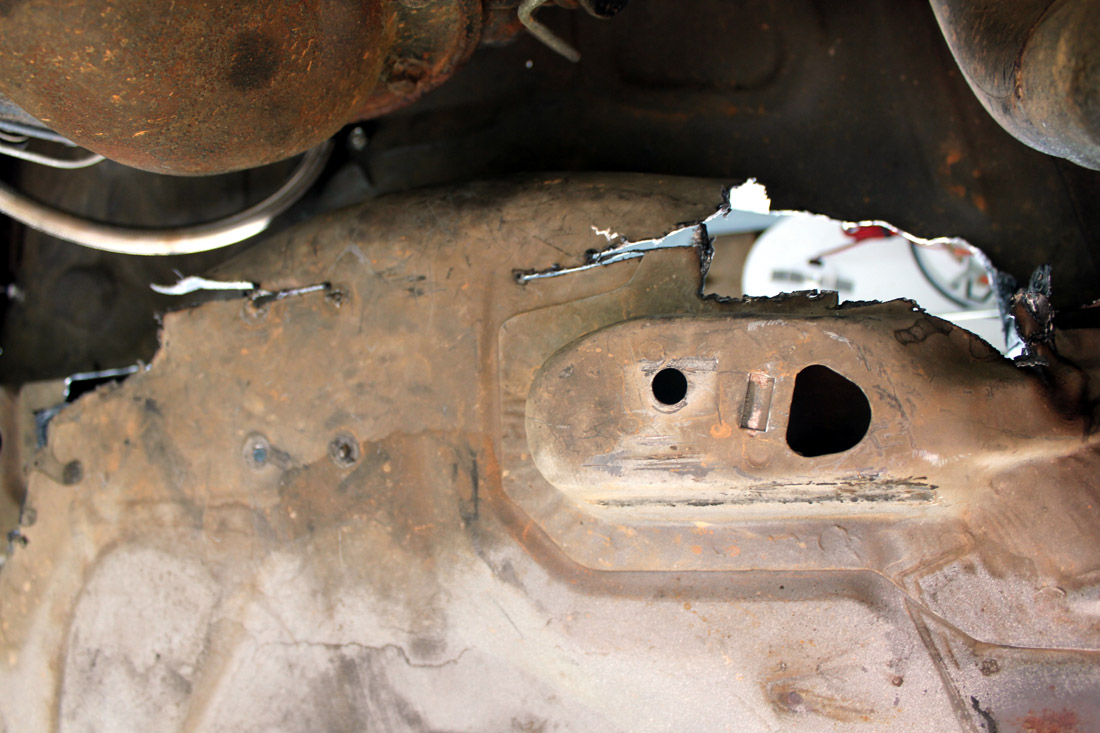
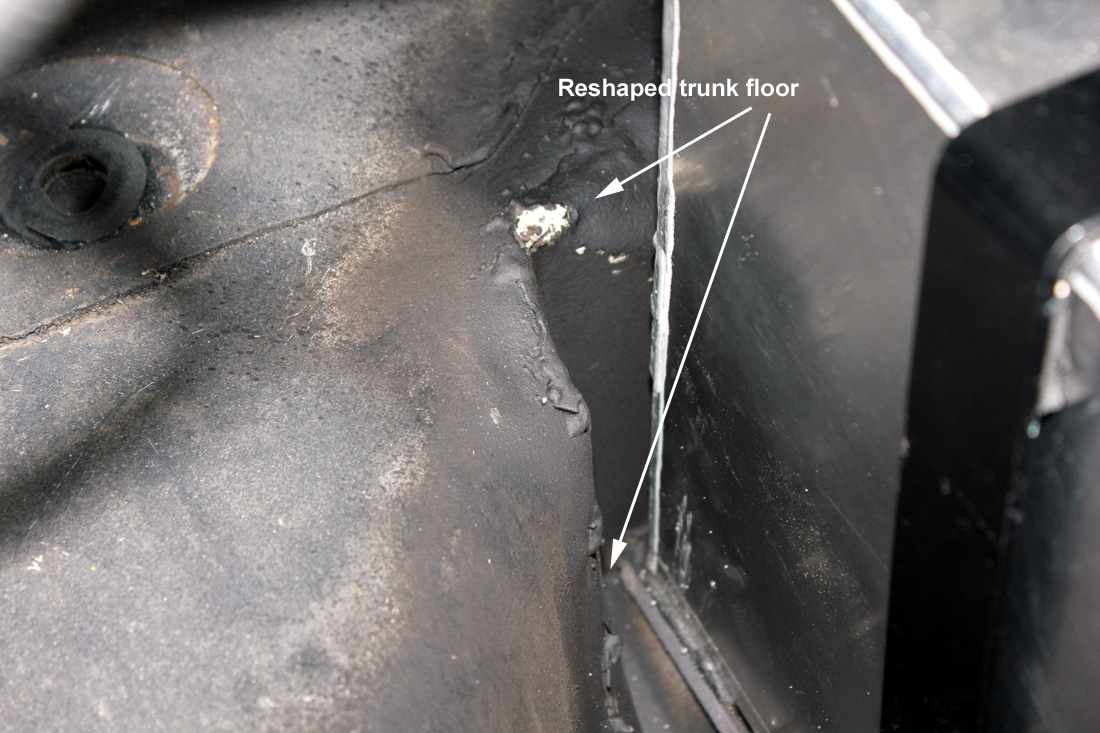
Installation was easy, I cut the trunk floor with my small Hobart plasma cutter:
Bottom rear
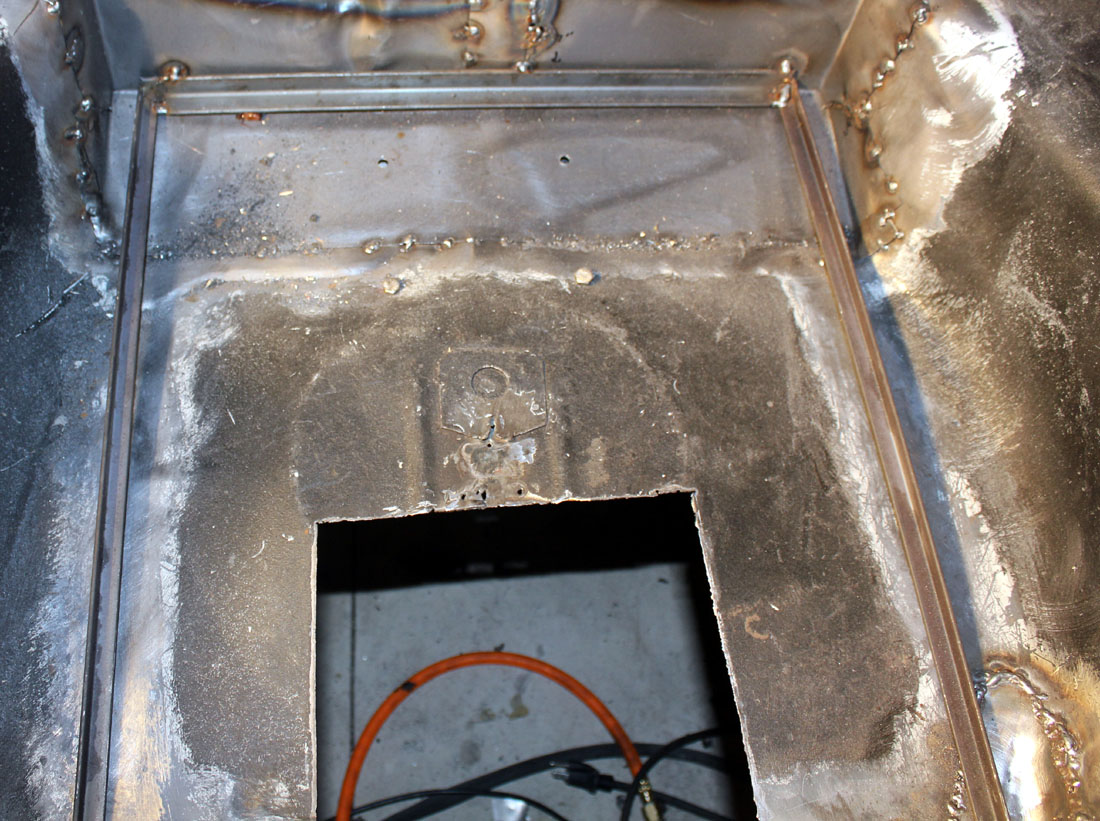
Top

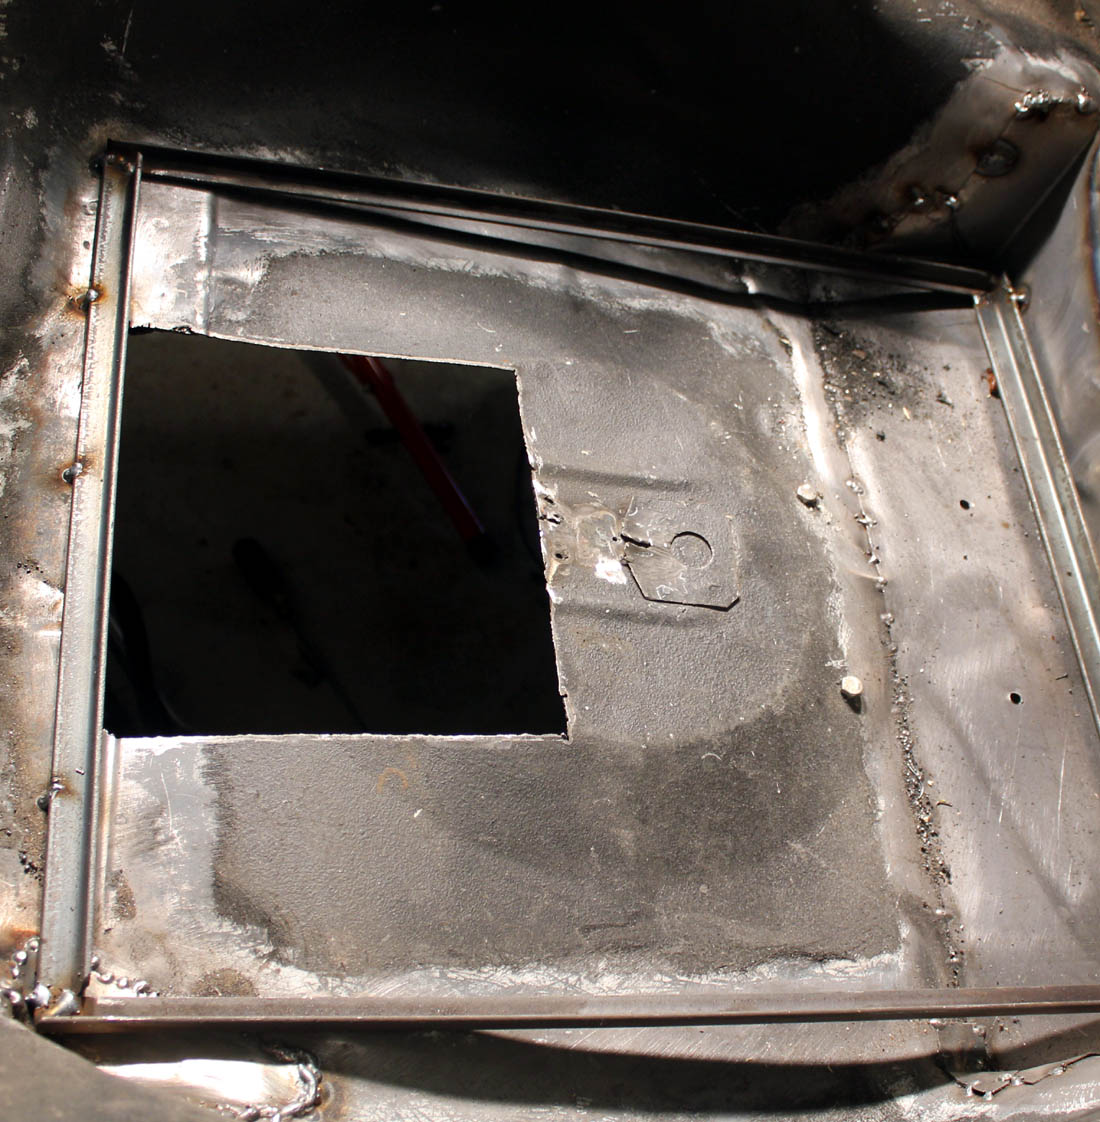
Bottom front
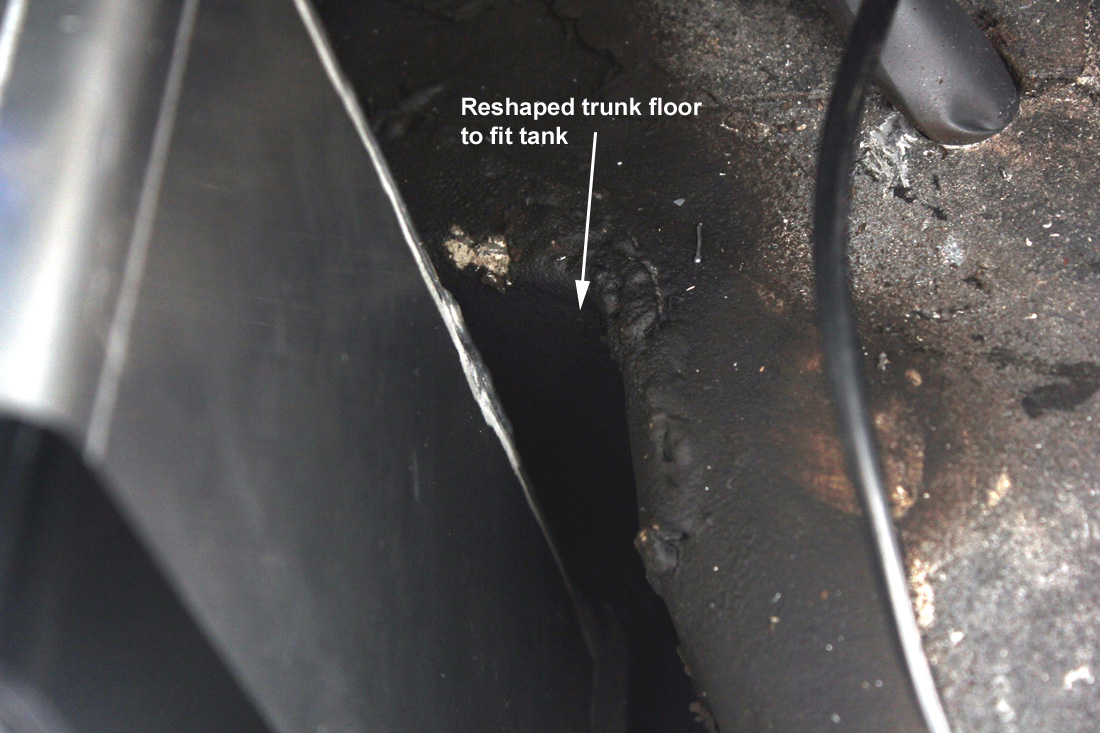
I made a cradle to hold the fuel cell in place.
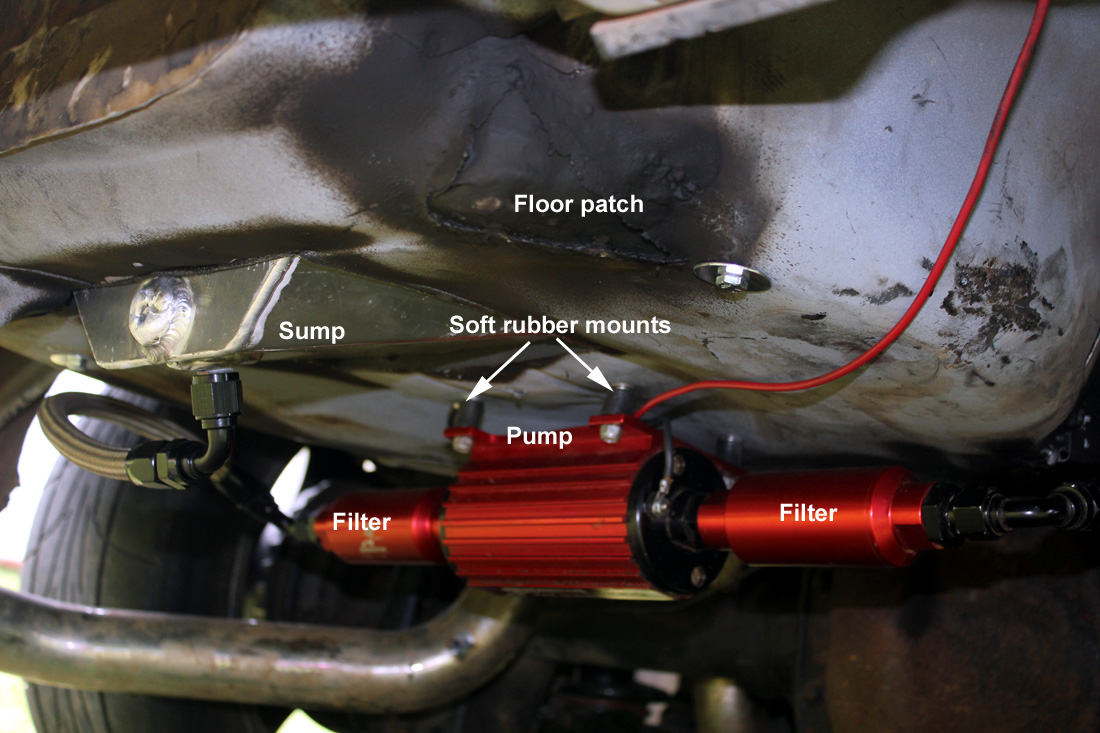
I cleaned it up, patched the floor holes, rounded or covered all sharp edges with an adhesive-backed hard rubber from McMaster Carr, and welded in the 1" angle iron cradle. This is at the tack weld stage during trial fits, before the floor was entirely smoothed and patched. Fuel pump mounts underneath on rubber shock and vibration bumpers at the front:
 '
'
Straps have rubber cushions:

Fed Ex damaged the fuel fitting. Rather than fix it, I decided to change it to a bottom exit. This would get the 90-degree sweep away from the rear bumper. Notice I rolled or bent the edge of the rear floor cut lip so it did not have a sharp edge toward the tank. Removing the tank opened up an unbelievable amount of under-car area for exhaust. It also let me mount the pump lower than the tank, with it being close to the ground. The soft rubber mounts are from McMaster Carr. They have been in the car two years now. The result is a very short hose to the pump, easy filter access, and a quiet fuel pump:
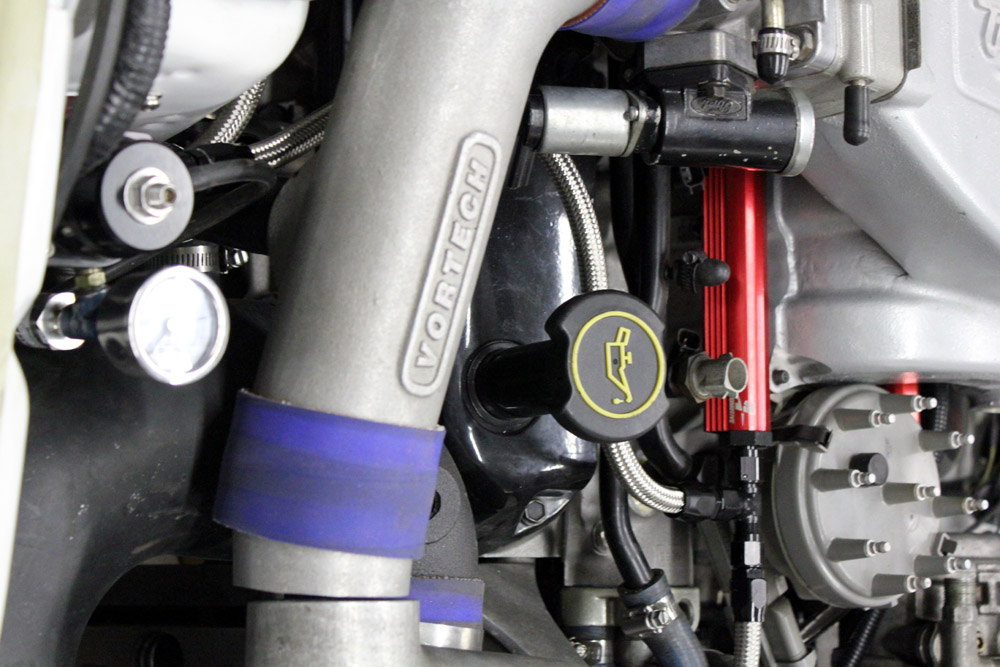
This is the fuel line routing for my 89 LX coupe:
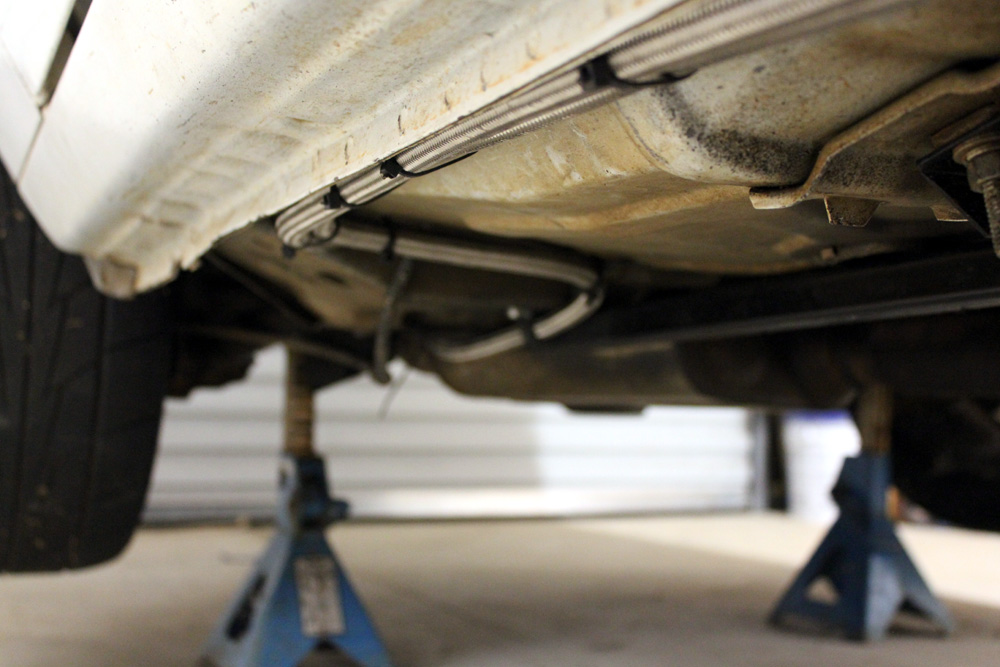
Fuel vent (rubber hose), braided return, and braided supply lines run together. Battery cable on other side of rail:
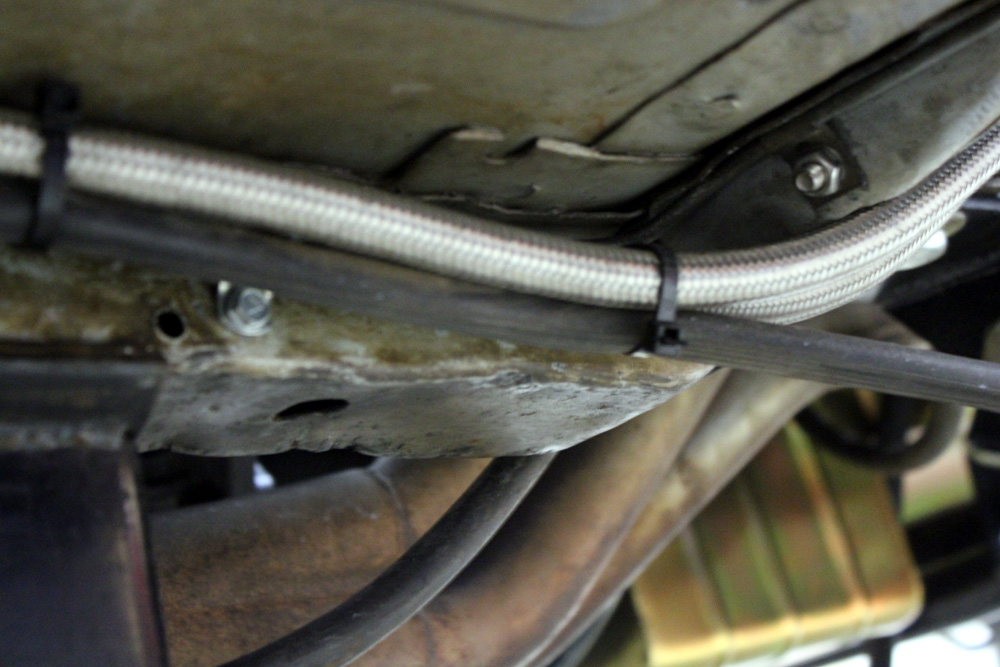
Heavy wall heat shrink over lines where they might abrade:


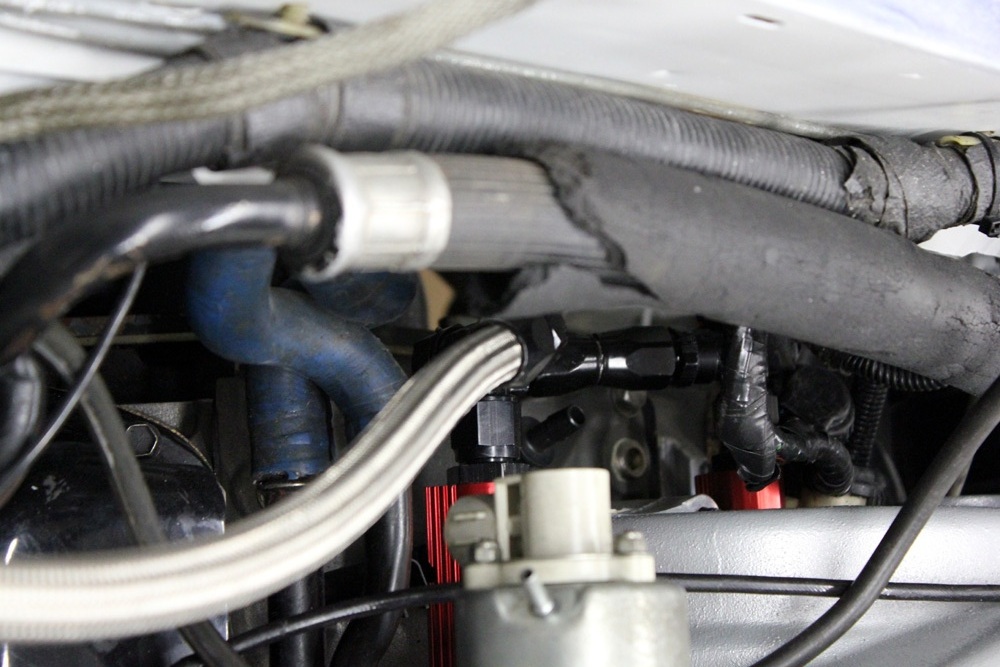
There is no way to fit the Aeromotive Y block and have good appearance and avoid fuel lines near dangerous areas, plus I had a lot of other stuff behind the engine. I had to make a system:
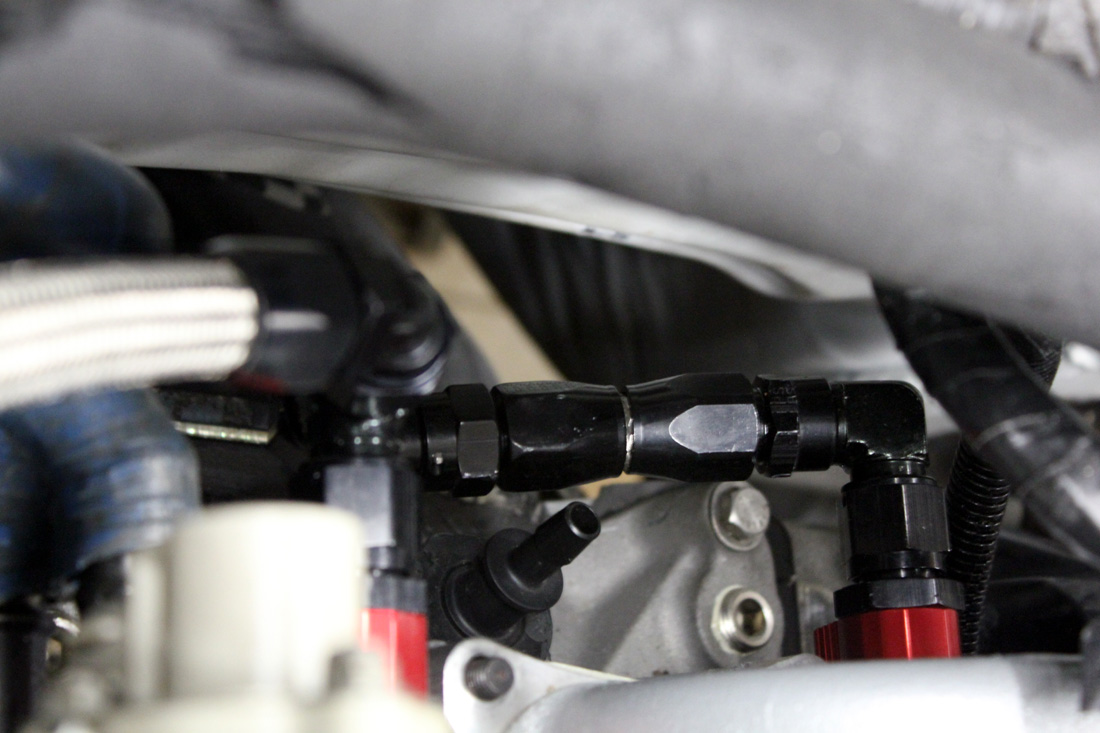
This Aeromotive center return idea did not work. With the TFS manifold, the center location could only fit when pointed to the back,
and it still bumped the manifold:
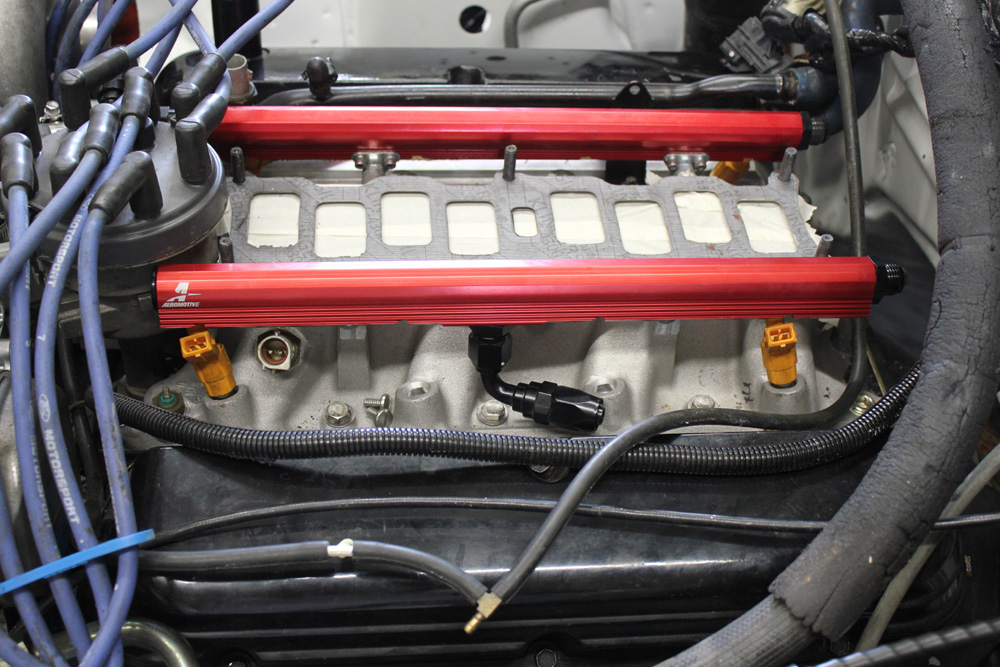
I had to change to a front fuel return system.
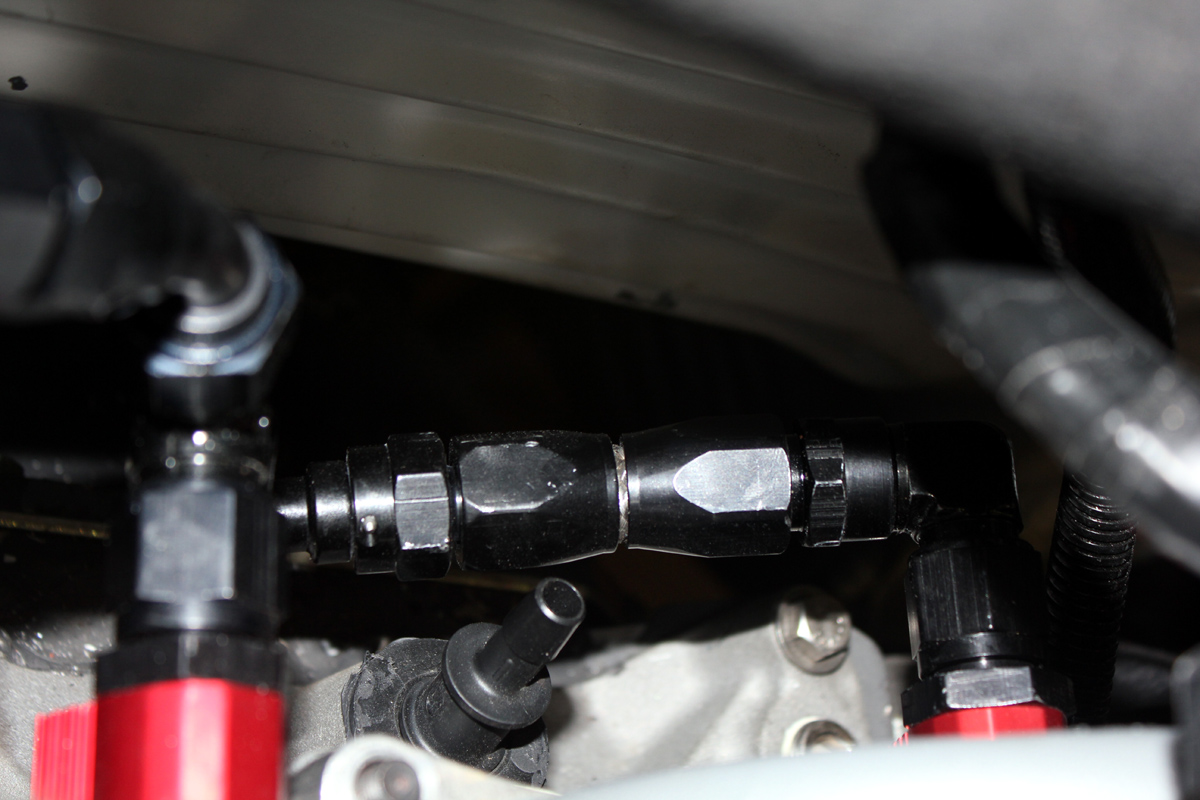
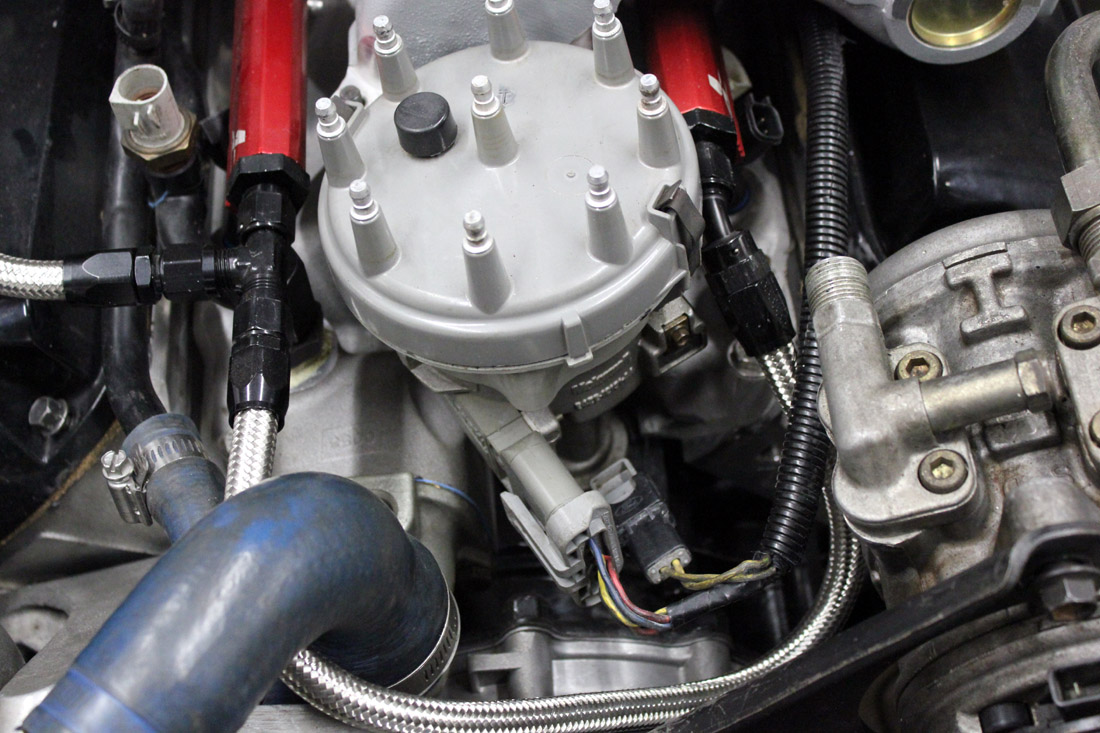
To allow the distributor to clear the driver's fuel rail. I had to do a few things:
1.) I spaced the rail out as far as possible without stressing the injectors at the rail front.
2.) I spaced the rear of the rail in as far as possible, without binding the injectors. This gives maximum outward swing of the rail front at the distributor.
3.) I slightly ground the edge of the O-ring 6-AN nut. Just the nut edge, NOT anything near the O-ring!
4.) I had to find the best-fit style of 45-degree fitting, and very slightly shave the distributor's lower plastic lip near the cap retaining spring.
Those changes allow my distributor to rotate almost as far as it would stock, and now it has good bit of clearance!
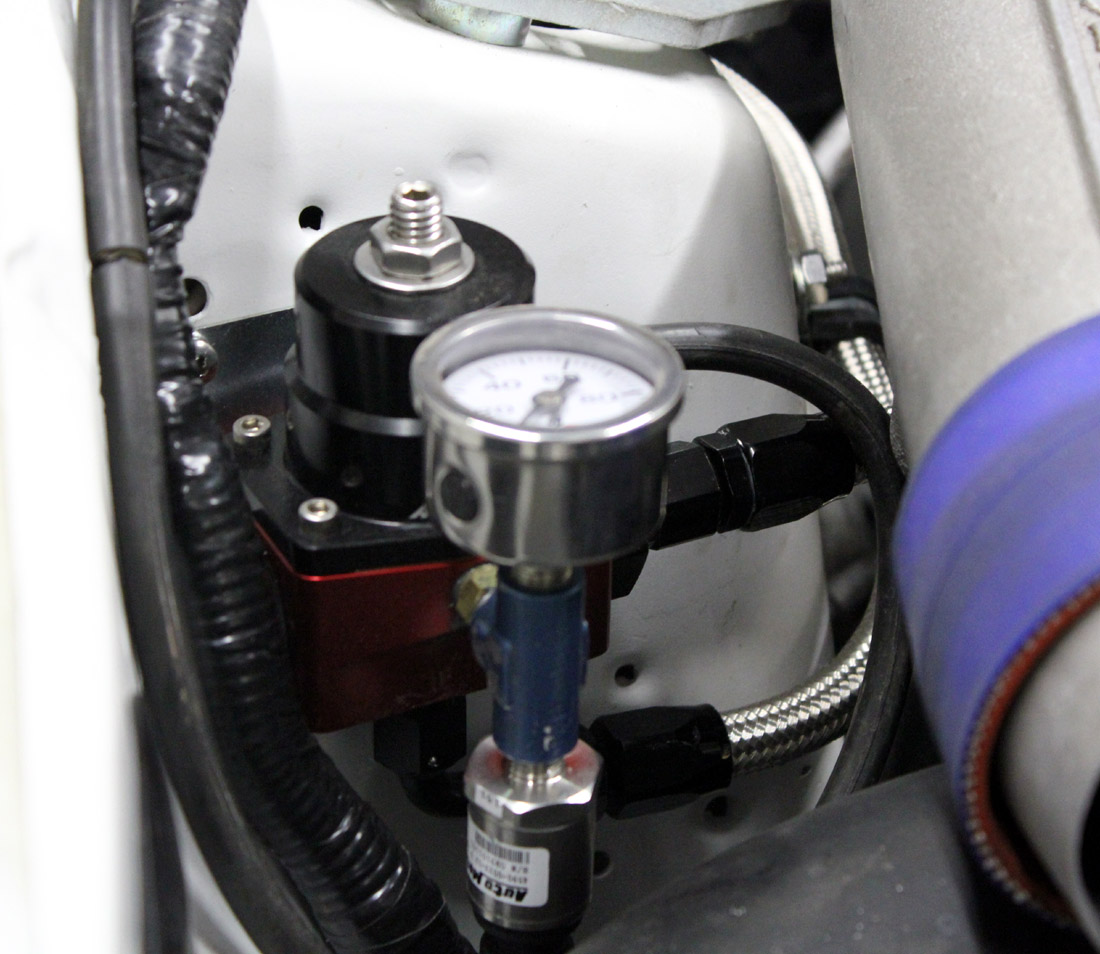
The "T" center goes to the regulator:

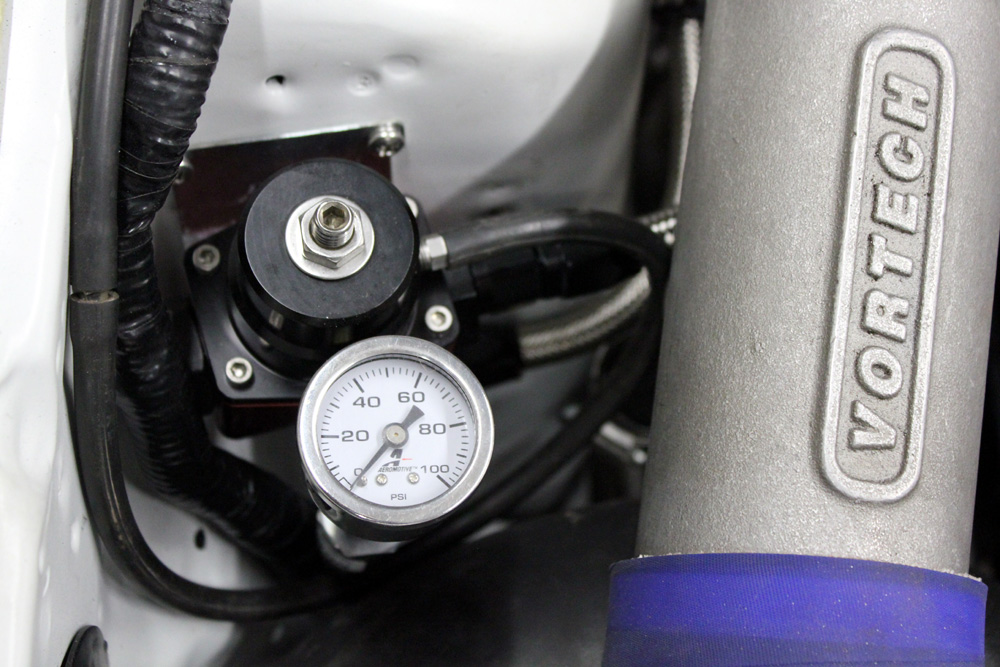
Under hood pressure and electronic gauge pressure monitors. Electric gauge sensor lights warning light for low pressure:
Schematic: